How to crochet amigurumi basics? There is no set crochet hook size, yarn type, or stitch for amigurumi which is one of the reasons it elicits such creativity and freedom for crocheters. Keep reading…
Amigurumi toys are easy to make. They’re small, making them quick from start to finish, even for beginners.
Amigurumi are usually crocheted in the round because they are three-dimensional but patterns vary. Most patterns use simple stitches. Single crochet is the most common in amigurumi because it is easy and uniform. Double crochet is also found in amigurumi patterns as well. The clean and simple appearance of amigurumi pieces is one of their draws.
Amigurumi toys are easy to make. They’re small, making them quick from start to finish, even for beginners. Instead of using a flat, row-by-row.
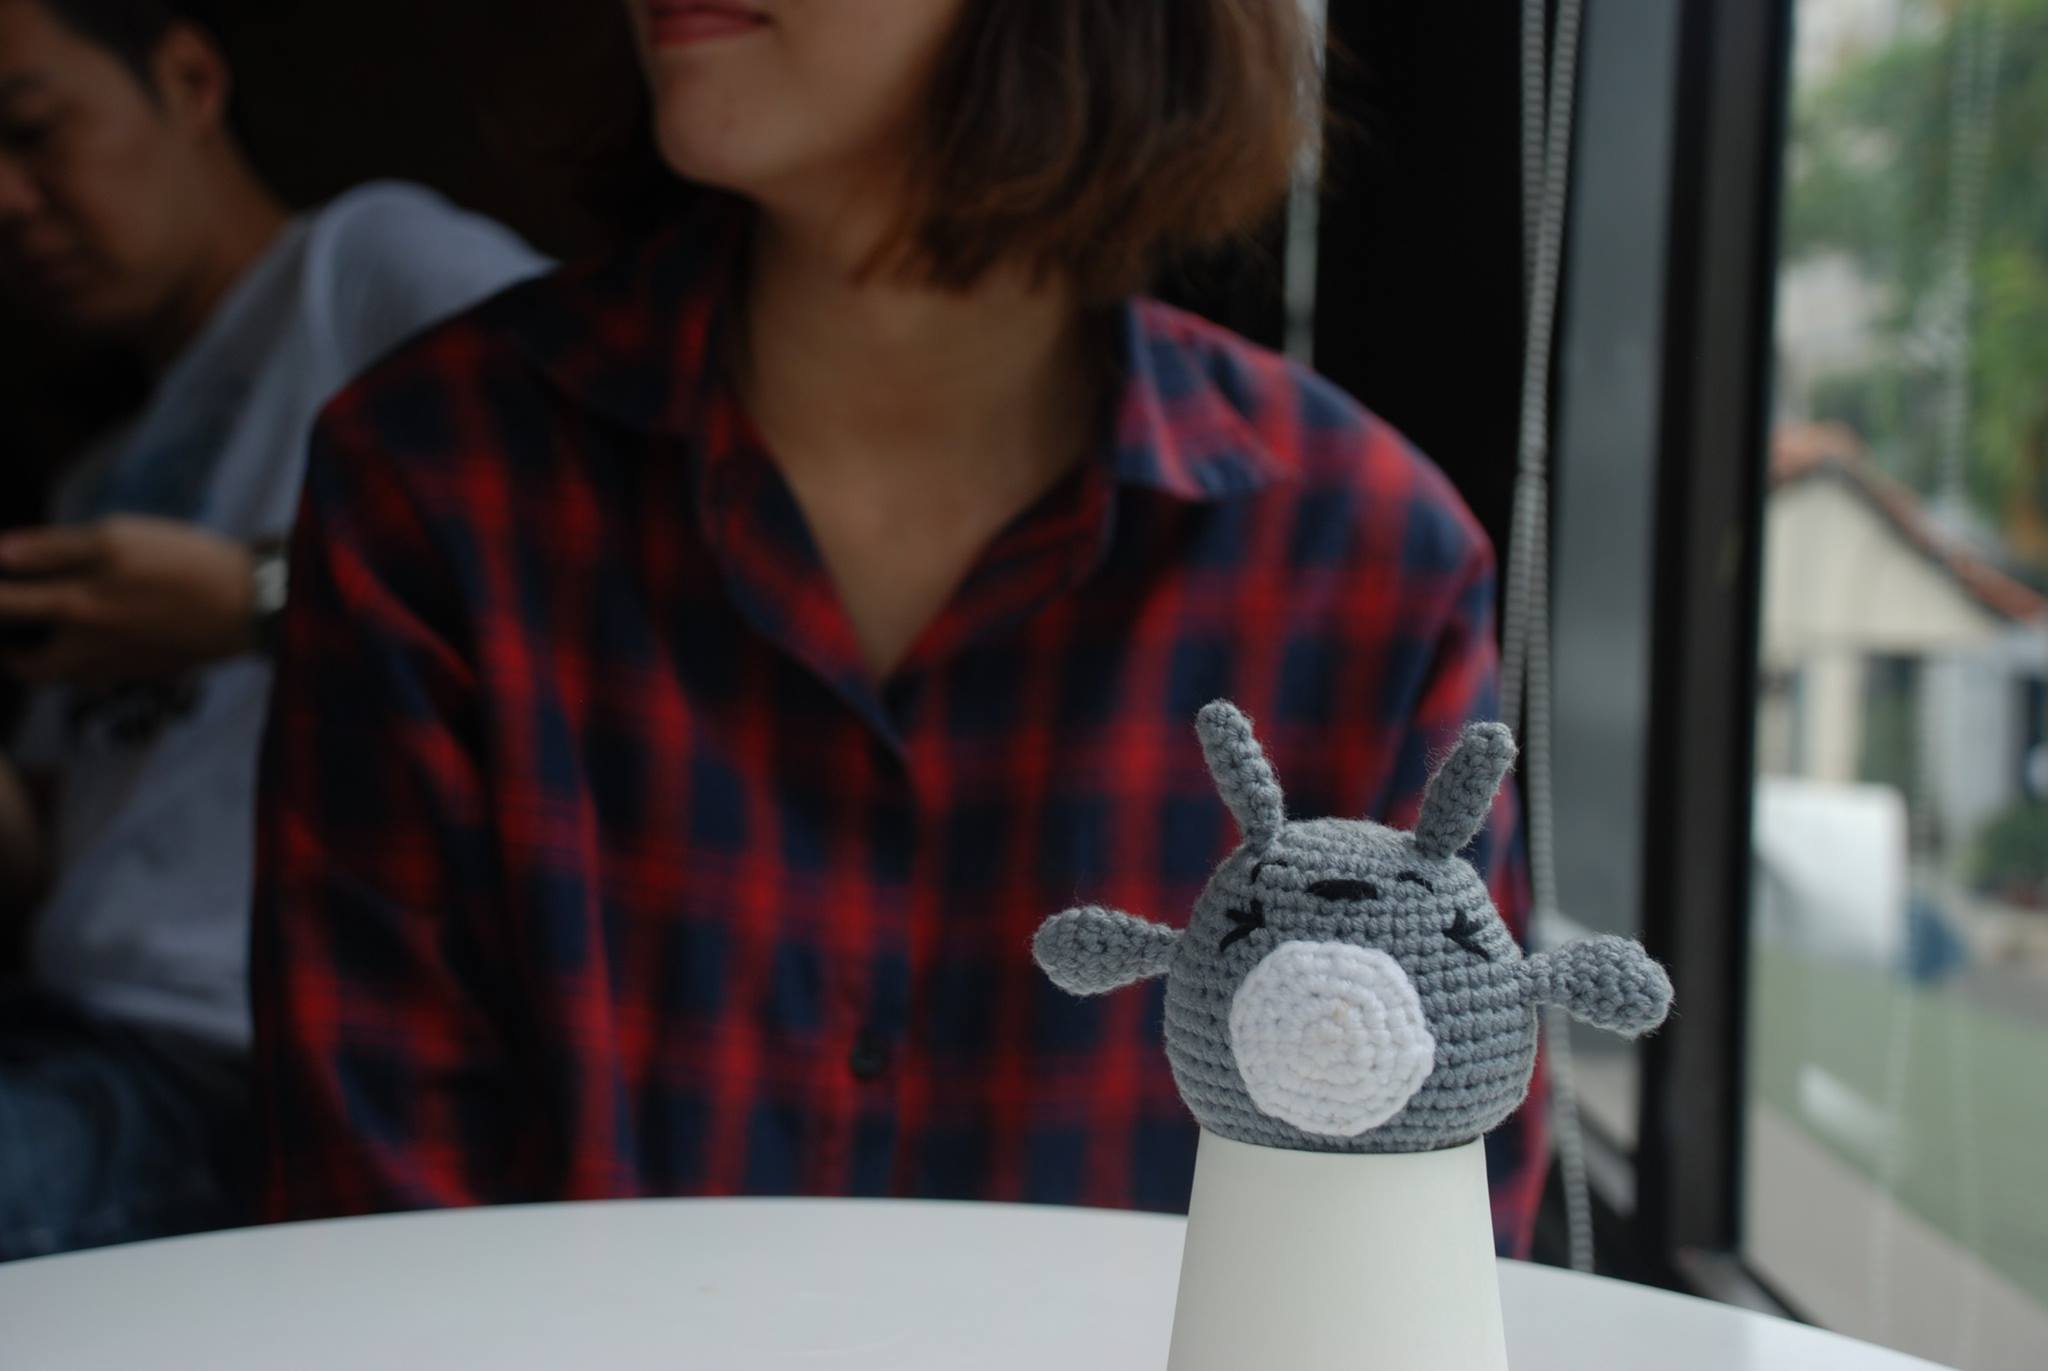
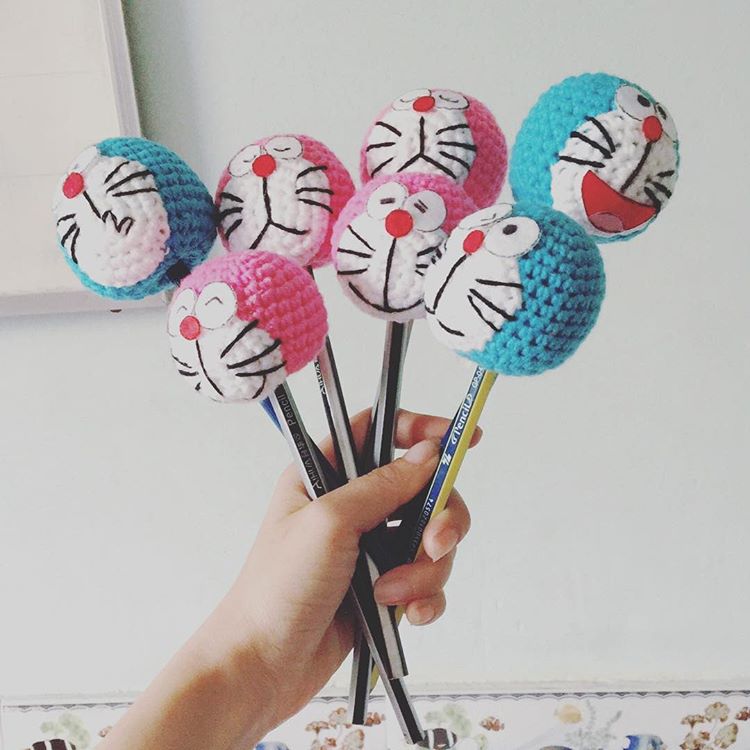
The definition might as well be “crocheted cuteness overload.” There is no way to look at amigurumi and not smile. These dolls are usually teeny tiny or small but they can big enough to hug. No matter what size, every amigurumi pattern is adorable and fun.
How to crochet amigurumi basic |
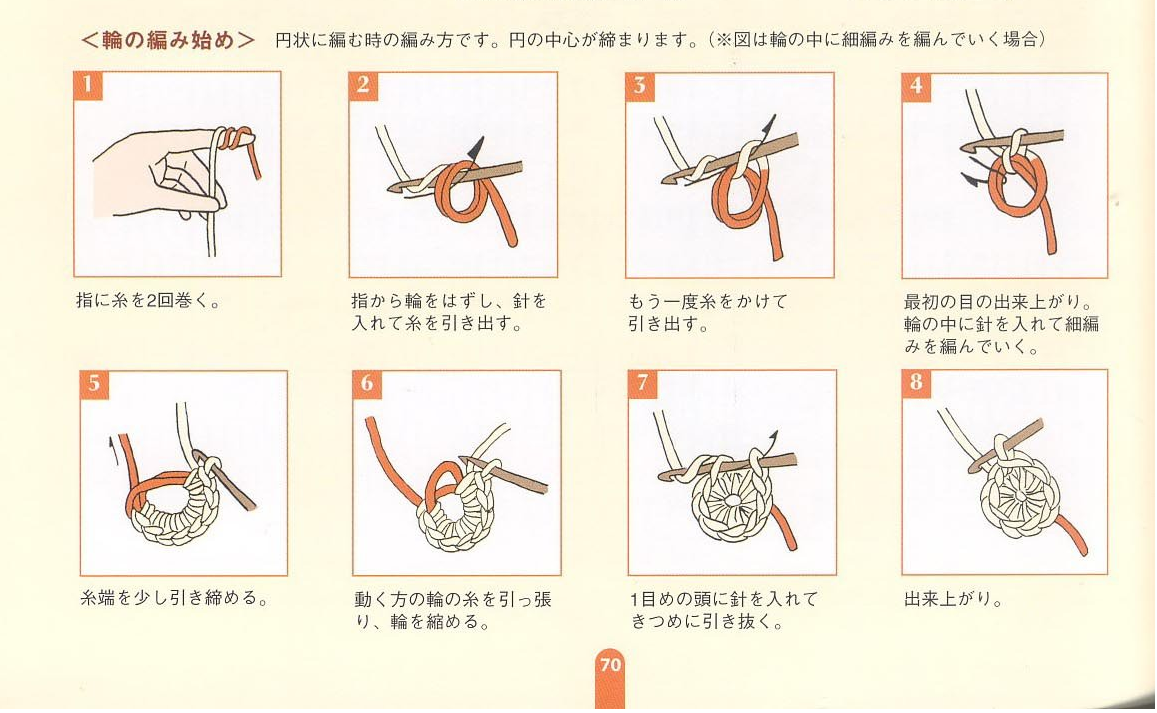 Start with the magic ring
Western approach with either knit or crochet patterns, these specific types are usually worked in rounds (magic ring). This not only eliminates the need for many seams and edges, but streamlines the process of making a stuffed animal in general.
To work in rounds, you should begin with a magic ring. Then, work the hook through that ring with a single crochet stitch to create a circle. Repeat into the original circle, continuing until you’ve gone all the way around according to the length of the pattern.
Crochet Increase and Decrease
Increases and decreases will determine the toy’s shape, and of course, switching colors between rounds can create stripes, zigzags or any other desired effect.
The most-used textiles for smaller amigurumi projects are mercerized cotton yarn or semi-cotton yarn. Both have a low weight, are well-spun, and will hold better shape and definition once the toy is finished. The toy made of thin yarn will come out much tinier, while thick yarn bumps the size up a bit.
Use Stitch markers
Because you are not joining at the end of each round you need to know exactly which stitch marks the beginning (and/or end) of each round. So, stitch markers are a must when crocheting amigurumi.
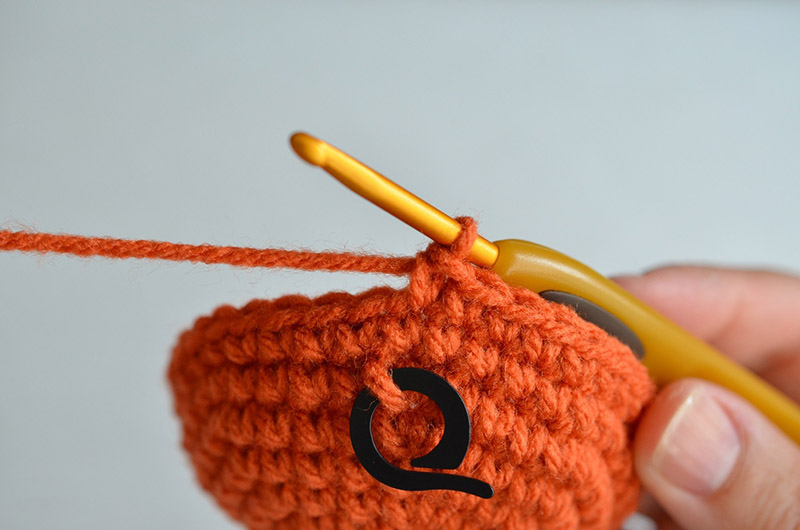
Stitch markers are a must when crocheting amigurumi
You may decide to use a running stitch marker in addition to a regular stitch marker. Simply weave a different color strand of yarn back and forth (in and out of the project) as you complete each row.
Properly Stuffing Your Amigurumi
After the base doll is complete, you can stuff it using any number of stuffing types. The best is usually a mix between soft stuffing materials like polyester fiberfill “polyfill” stuffing or cluster stuffing, and weighted options like silicone rubber pellets, beans or rice.
Tips:
|
Leave long tails for sewing
This tip will come to you after sewing together several amigurumi bodies, arms, and legs. Instead of reattaching the yarn to sew limbs to torsos, leave a long tail when you fasten off each limb so that you can use that to sew instead.
Make up for your amigurumi
Finally, in order to polish off the toy’s appearance, you need to know a few simple embroidery stitches. These make up the minute details, such as the eyes, mouth, outfit designs and sometimes, hair.
Usually, people opt to use embroidery floss, which you can purchase in large packs of the full rainbow spectrum, and which completes the amigurumi’s look with clear, visible stitches and a brilliant shine. It’s also possible to add details with a lighter-weight yarn and a bigger needle or to stitch on cut sections of felt. For different types of eyes, you can embroider with individual stitches, or you can attach buttons, beads or safety eyes.
Note that you should use tacks – before you sew up the head! – to play around with the eye placement. Because the placement of the eyes, nose, and mouth can make or break your amigurumi project.
Ready to crochet amigurumi? Find Free amigurumi crochet patterns at AmiSaigon.
From: AmiguWorld