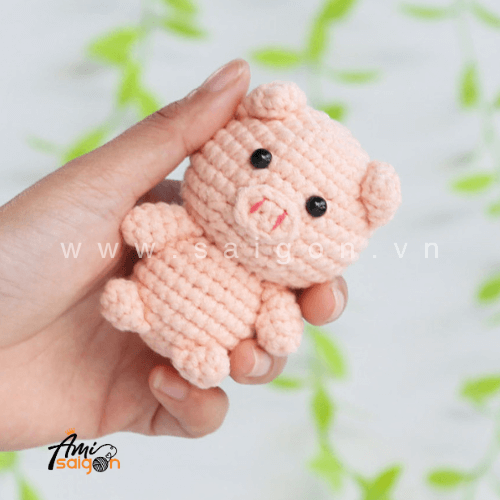
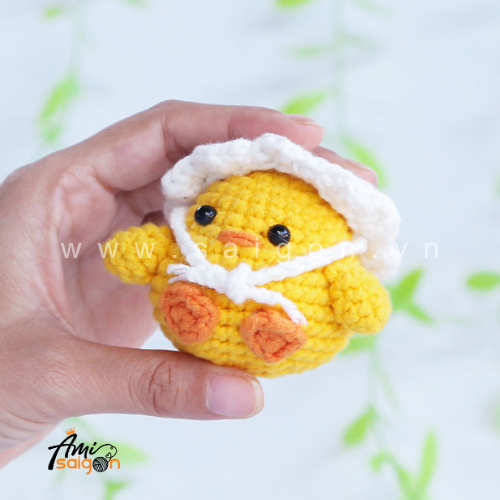
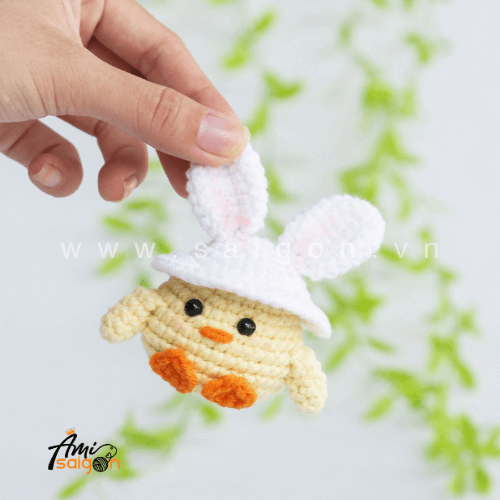
Hey there, AmiSaigon has some great news to share with all you crochet lovers out there! We just finished designing our newest pattern – the “Pumpkin with Witch Hat”. It’s a super cute and easy pattern perfect for Halloween decor. So, get your hooks ready, and let’s have some fun!
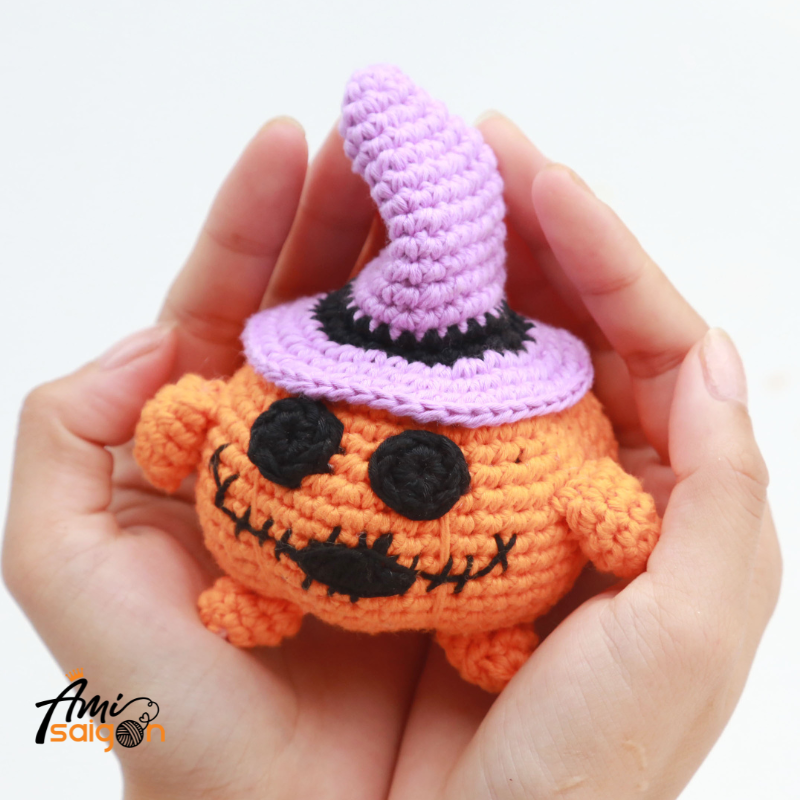
Amigurumi little Pumpkin Crochet pattern
Pattern by: Ami Saigon Patterns
Picture: @amisaigonvn
Tutorial video: Ami Saigon Channel
Abbreviations:
R = round
mr = magic ring
sc = single crochet
inc = increase (2 sc in the next stitch)
dec = decrease (join the next 2 stitches into 1)
sl st = slip stitch
st = stitch
ch = chain
FO = fasten off/finish off
BLO = back loop only
FLO = front loop only
[ ] = number of stitches you should have at the end of the round/row
( ) x 6 = repeat whatever is between the brackets the number of times stated
To crochet Pumpkin Halloween amigurumi you need:
– Yarn: orange, violet, black
– Hook: 2-3 mm crochet hook
– Fiberfill for stuffing
– Sewing needle and scissors
Pumpkin character amigurumi
Free crochet patterns

Body
Start with orange yarn
| R 1: 6 sc in mr | [6] |
| R 2: inc x 6 | [12] |
| R 3: (1 sc, inc) x 6 | [18] |
| R 4: (2 sc, inc) x 6 | [24] |
| R 5: (3 sc, inc) x 6 | [30] |
| R 6: 30 sc | [30] |
| R 7: (4 sc, inc) x 6 | [36] |
| R 8-9: 36 sc (2 rounds) | [36] |
| R 10: (5 sc, inc) x 6 | [42] |
| R 11: (6 sc, inc) x 6 | [48] |
| R 12-18: 48 sc (7 rounds) | [48] |
| R 19: (4 sc, dec) x 8 | [40] |
| R 20: (3 sc, dec) x 8 | [32] |
| R 21: (2 sc, dec) x 8 | [24] |
| R 22: (1 sc, dec) x 8 | [16] |
| R 23: dec x 8 | [8] |
Stuff with fiberfill. Cut the yarn, and hide the tail.
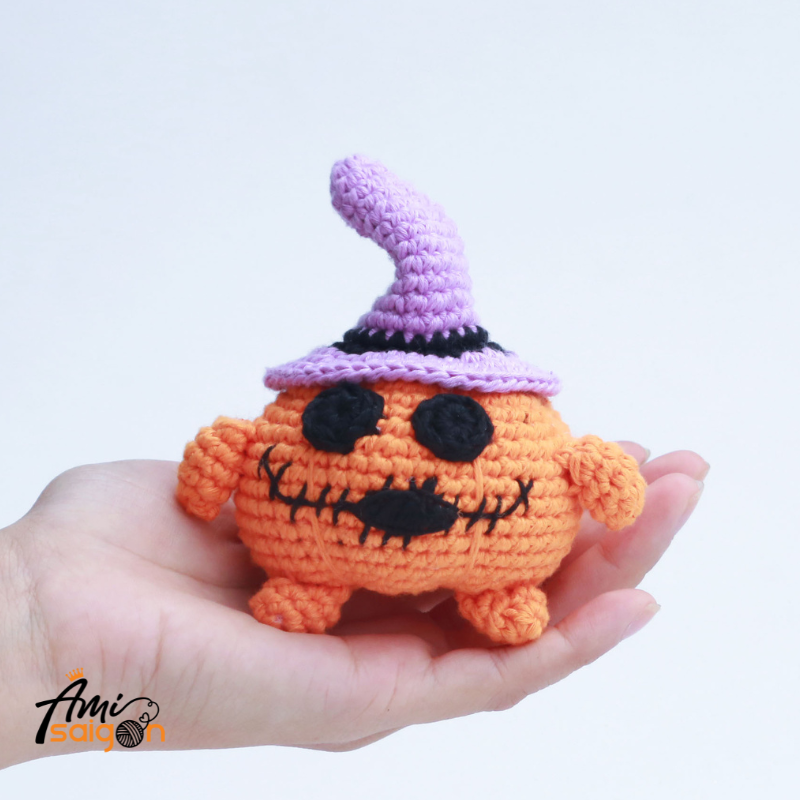
Amigurumi Chubby Pumpkin Crochet pattern by AmiSaigon
Legs (make 2)
Start with orange yarn
| R 1: 4 sc in mr | [4] |
| R 2: inc x 4 | [8] |
| R 3-4: 8 sc (2 rounds) | [8] |
Stuff with fiberfill. Fasten off and leave a long tail for sewing.
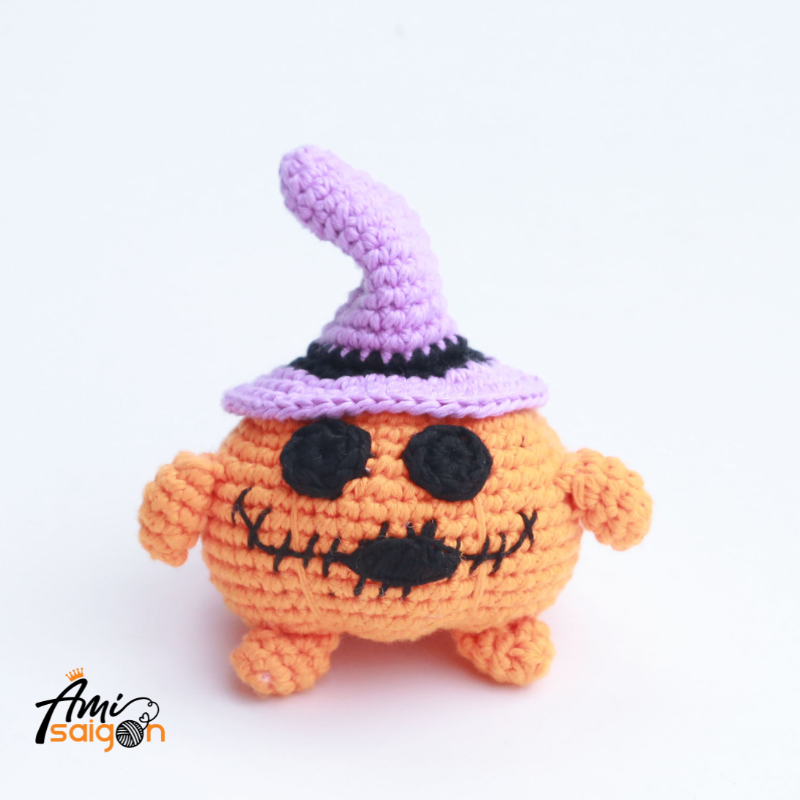
Amigurumi Chubby Pumpkin Crochet pattern by AmiSaigon
Arms (make 2)
Start with orange yarn
| R 1: 4 sc in mr | [4] |
| R 2: inc x 4 | [8] |
| R 3-4: 8 sc (2 rounds) | [8] |
| R 5: (2 sc, dec) x 2 | [6] |
Stuff with fiberfill. Fasten off and leave a long tail for sewing.
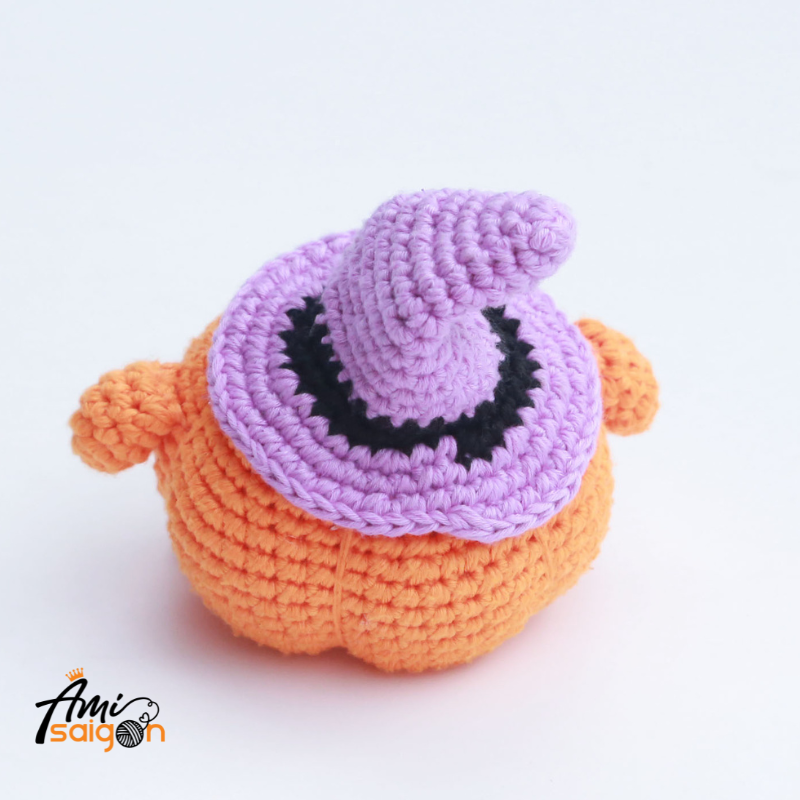
Amigurumi Chubby Pumpkin Crochet pattern by AmiSaigon
Eyes (make 2)
Start with black yarn
| R 1: 8 sc in mr | [8] |
Fasten off and leave a long tail for sewing.
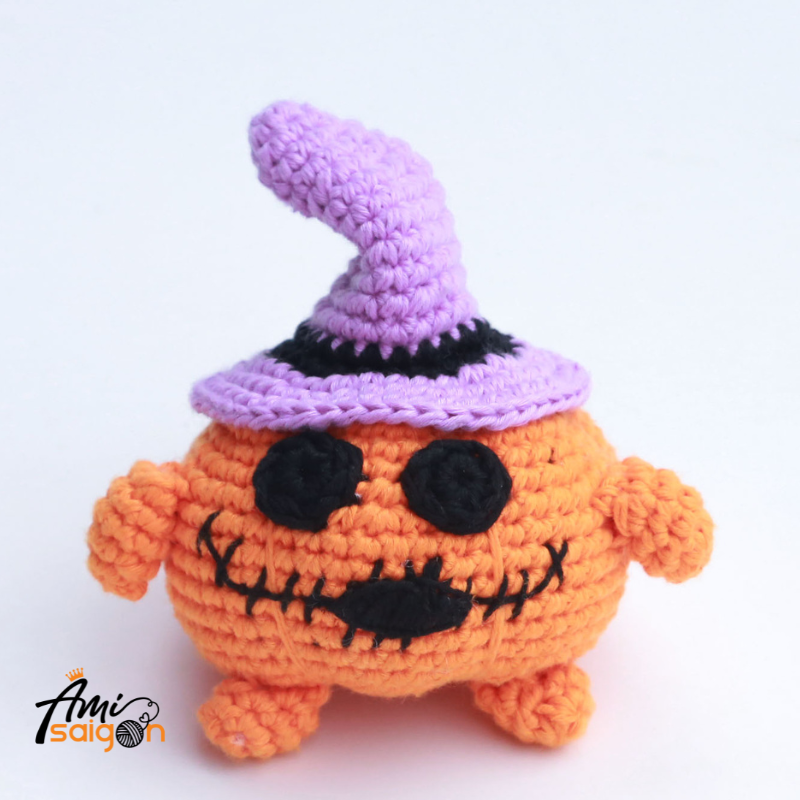
Amigurumi Chubby Pumpkin Halloween Crochet pattern by AmiSaigon
Hat
Start with violet yarn
| R 1: 4 sc in mr | [4] |
| R 2: inc x 4 | [8] |
| R 3: (3 sc, inc) x 2 | [10] |
| R 4: (2 sc, inc, 2 sc) x 2 | [12] |
| R 5: 12 sc | [12] |
| R 6: (5 sc, inc) x 2 | [14] |
| R 7: (3 sc, inc, 3 sc) x 2 | [16] |
| R 8: 16 sc | [16] |
| R 9: (7 sc, inc) x 2 | [18] |
| R 10: (4 sc, inc, 4 sc) x 2 | [20] |
| R 11: 20 sc | [20] |
| R 12: (9 sc, inc) x 2 | [22] |
| R 13: (5 sc, inc, 5 sc) x 2 | [24] |
| Change to black yarn | |
| R 14: 24 sc | [24] |
| R 15: Flo (3 sc, inc) x 6 | [30] |
| Change to violet yarn | |
| R 16: (2 sc, inc, 2 sc) x 6 | [36] |
| R 17: (5 sc, inc) x 6 | [42] |
| R 18: (3 sc, inc, 3 sc) x 6 | [48] |
Fasten off and hide the tail.
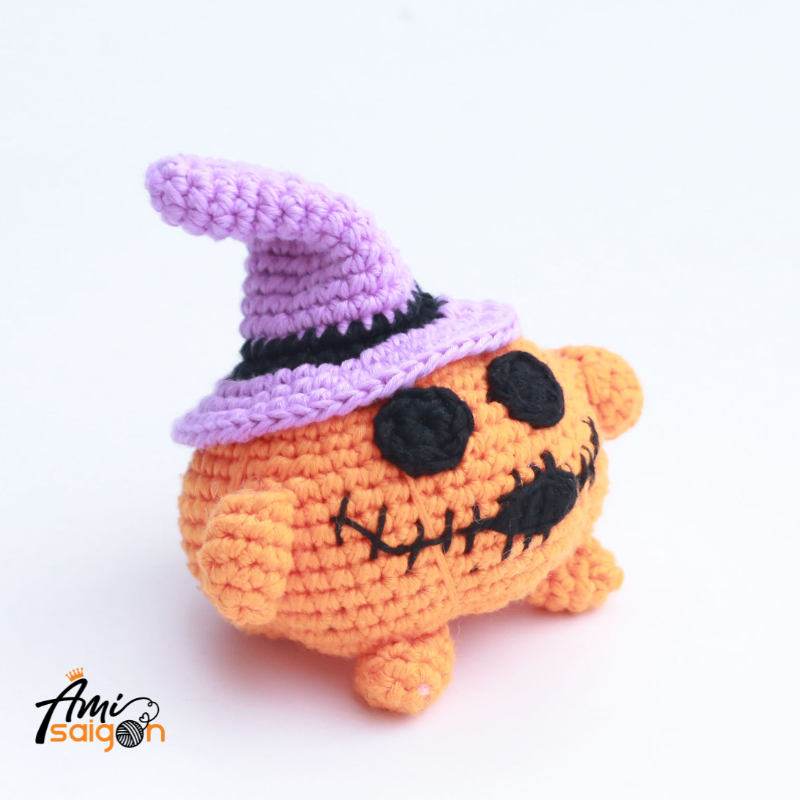
Amigurumi little Pumpkin Crochet pattern
Assembly:
– Sew the arms between rounds 11-12 of the body.
– Sew the legs between rounds 20-21 of the body.
– Sew the eyes on rounds 9-10 of the head-body.
Congratulations on completing the “Pumpkin with Witch Hat” pattern! We can’t wait to see your finished creations. Please consider sharing pictures of your pumpkin amigurumi made with this Free Amigurumi Pumpkin Pattern in our Facebook group, Crochet with AmiSaigon. Let’s inspire and support each other in our love for crochet. Happy crafting with AmiSaigon!
And if you’re looking for more fun and creative amigurumi patterns, check out AmiSaigon Shop, where you’ll find a variety of cute and cuddly creatures to crochet. Happy crafting!
#AmiSaigon


